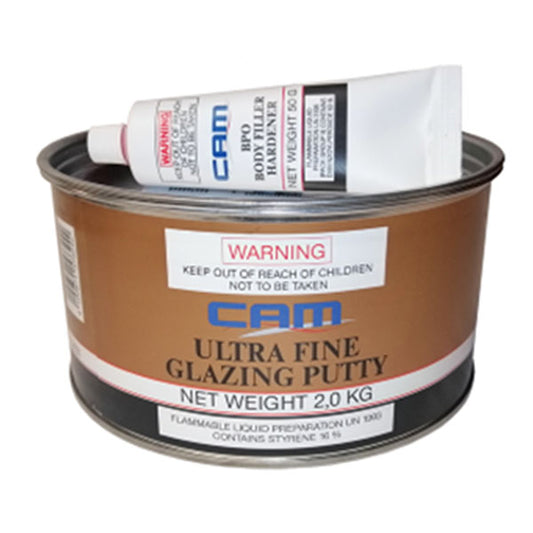
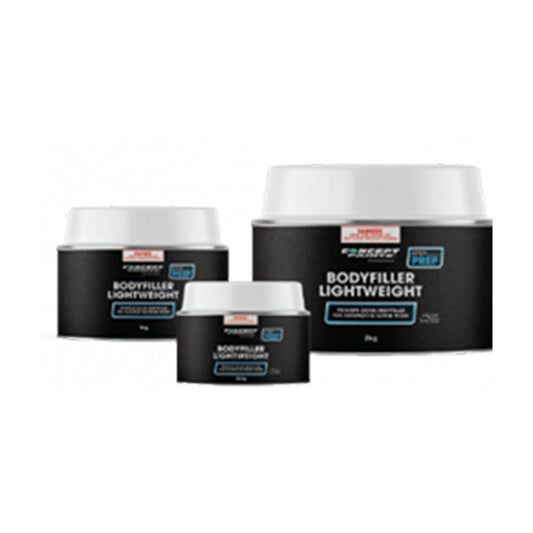
What Is Car Body Filler?
Car body filler is a two-part compound made up of a filler paste and a hardener. When these components are mixed, they create a substance that can be applied to your vehicle’s body to fill in dents, scratches, or gaps. Once hardened, the filler can be sanded and painted, blending seamlessly with the surrounding surface.
This material is versatile and durable, but it requires careful application to ensure a professional, long-lasting result. Using body filler improperly can lead to uneven finishes, cracks, or issues with paint adhesion later on.
Preparing the Car Surface prior to applying Body Filler
Proper preparation of the surface, whether it is plastic, fibreglass or metal, is critical before applying body filler. Start by cleaning the damaged area thoroughly to remove dirt, grease, and rust. Any contaminants left on the surface can interfere with the filler’s adhesion.
If the damaged area includes rust, it’s important to remove it completely. Use sandpaper, a wire brush, or a rust removal product to ensure the surface is clean and smooth. Once the rust is addressed, scuff up the surface using coarse-grit sandpaper, such as 80-grit, to create a rough texture. This step is essential because it helps the filler bond securely to the metal.
Mixing the Body Filler
Mixing the filler and hardener correctly is the next crucial step. Typically, the filler and hardener are supplied separately, allowing you to prepare only the amount you need for each session. Refer to the manufacturer’s instructions regarding the correct ratio of filler to hardener.
On a clean, non-absorbent surface, squeeze out a small amount of filler and add the appropriate amount of hardener. Using a plastic spreader or mixing board, blend the two components together thoroughly until they reach a uniform colour. Be mindful to mix only what you can use within the working time, as the filler will begin to harden quickly once mixed.
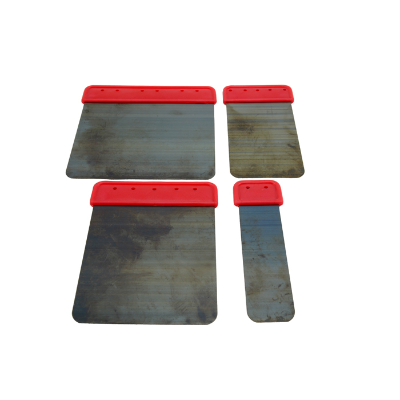
Correctly Applying the Body Filler
Using a plastic applicator, spread the filler over the affected area in thin, even layers. It’s better to apply multiple thin layers instead of a single thick one, as this minimises the risk of cracking or uneven curing.
Press the filler firmly into the damaged area, ensuring full coverage. Gradually build up the layers until the filler is slightly higher than the surrounding surface. This excess material will be sanded down later to achieve a smooth, level finish.
Sanding and Finishing Body Filler
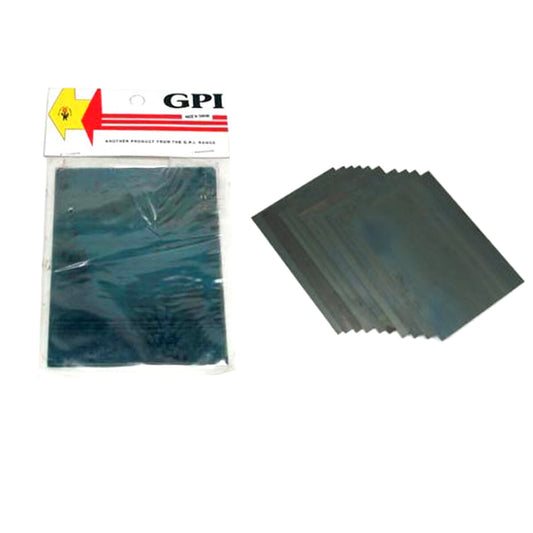
Allow the filler to cure for the time recommended by the manufacturer. Once it has fully set, begin sanding with coarse-grit sandpaper (e.g., 80-grit) to shape and smooth the surface. Gradually move to finer grits, such as 120-grit or 180-grit, to refine the finish.
As you sand, touch the surface occasionally to ensure it feels level with the surrounding area. For best results, use a sanding block or orbital sander to maintain even pressure and avoid creating high or low spots.
After achieving a smooth surface, inspect the area for any imperfections. If necessary, apply a skim coat of filler to address minor flaws, then sand again. Once the area is completely smooth and blends seamlessly, it’s ready for primer and paint application.
Tips for Best Results with Body Filler
For a longer-lasting repair, always follow the product’s instructions carefully. Avoid working in extremely humid or cold conditions, as these can affect the filler’s performance. Additionally, invest in quality tools and materials to ensure a professional finish.
By methodically preparing the surface, carefully applying the filler, and taking the time to finish the job with patience, you can achieve a clean, durable repair that restores the vehicle’s appearance and value.


 Sold out