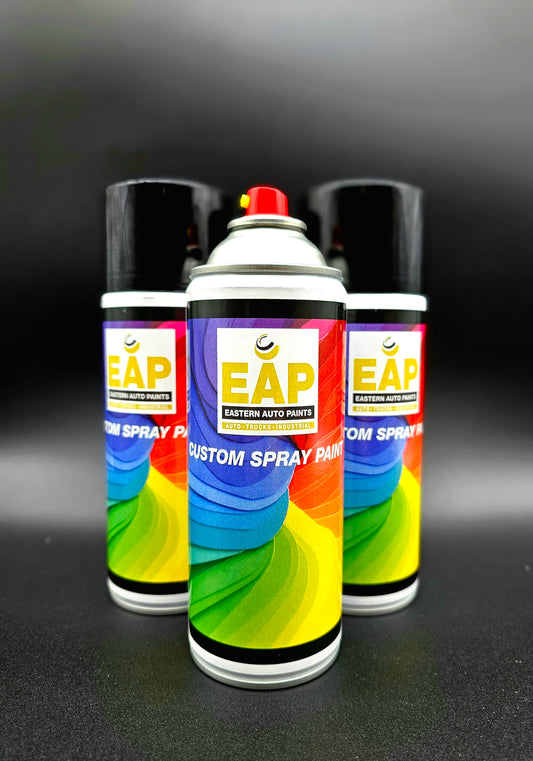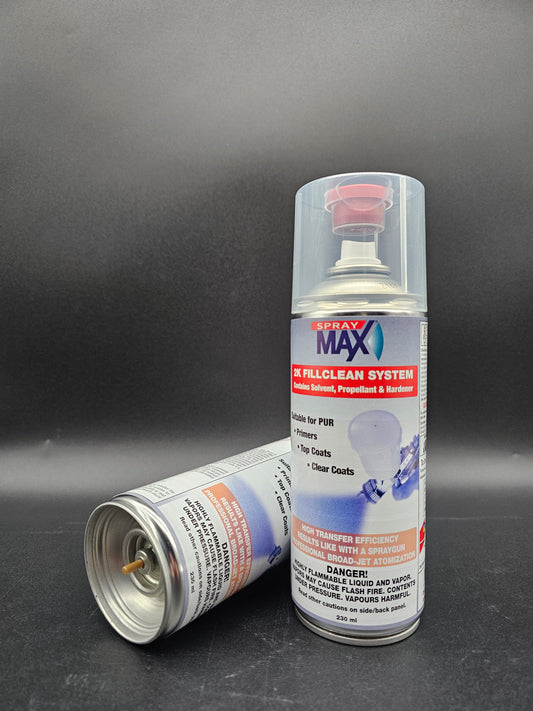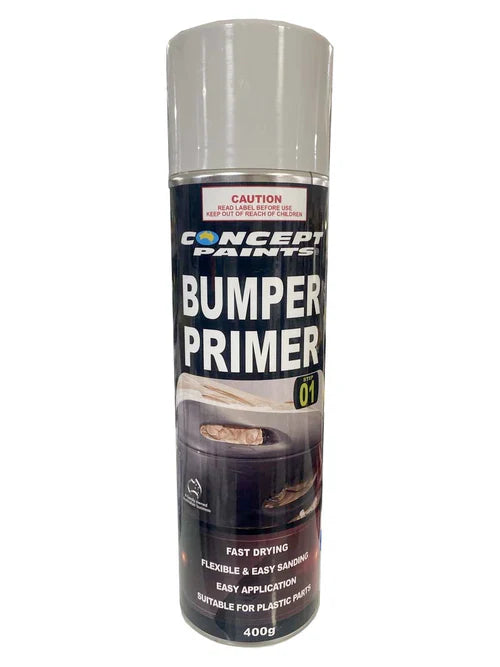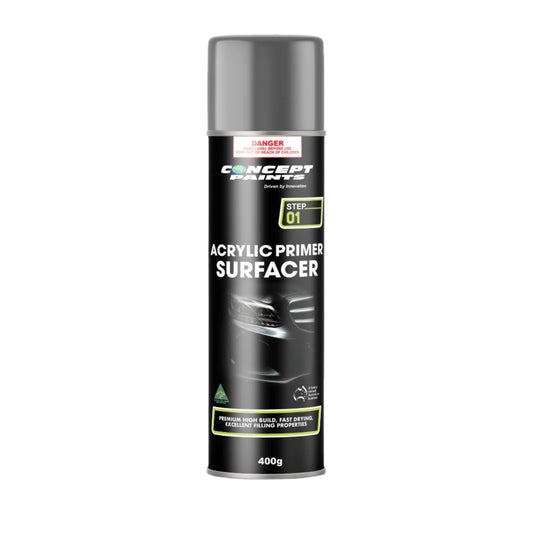
Collection: PAINTING PLASTIC & TRIMS

Painting automotive plastics is a little different from painting metal. Bumpers, mirror covers, spoilers, trims, grilles and other plastic components can flex, may have low surface adhesion and are often contaminated with mould-release agents, silicone, wax or road grime.

The key to a durable finish is correct preparation and using products suitable for the substrate.

Whether you're painting a brand-new replacement bumper, restoring an old painted trim or changing the colour of an existing part, this guide takes you from preparation through to the finished coating.


PAINTING AUTOMOTIVE PLASTIC & TRIMS

For New/Bare & Previously Painted Plastic · 1K · 2K · Aerosol

NEW / BARE PLASTIC

1. CLEAN
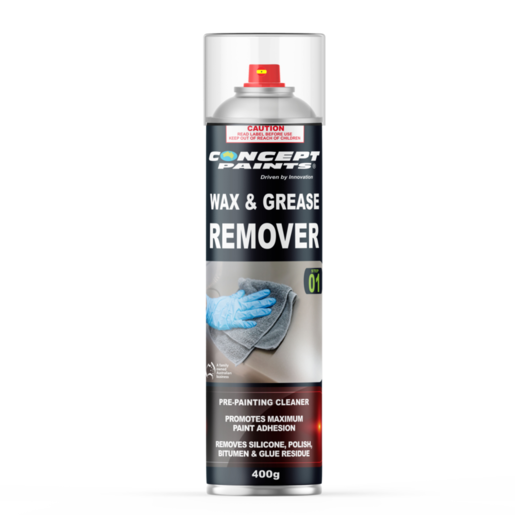
Wash thoroughly, then clean with a product suitable for automotive plastics. New plastic may contain mould-release agents and other contamination, so don't skip this step.

2. PREPARE
Lightly abrade the surface using the appropriate abrasive or scuff pad. Pay attention to edges, curves and recesses. Clean again after sanding.

3. ADHESION PROMOTER
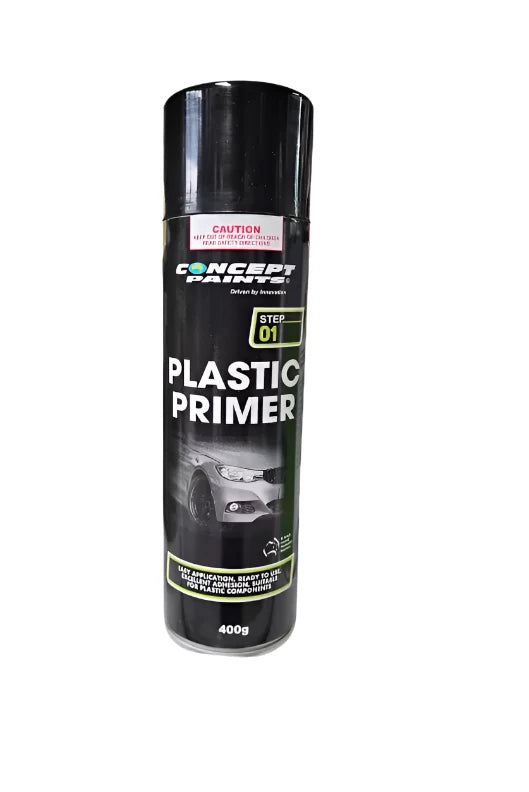
Apply a light, even coat of plastic adhesion promoter where required for the plastic and paint system. Allow the recommended flash time.

4. PRIME
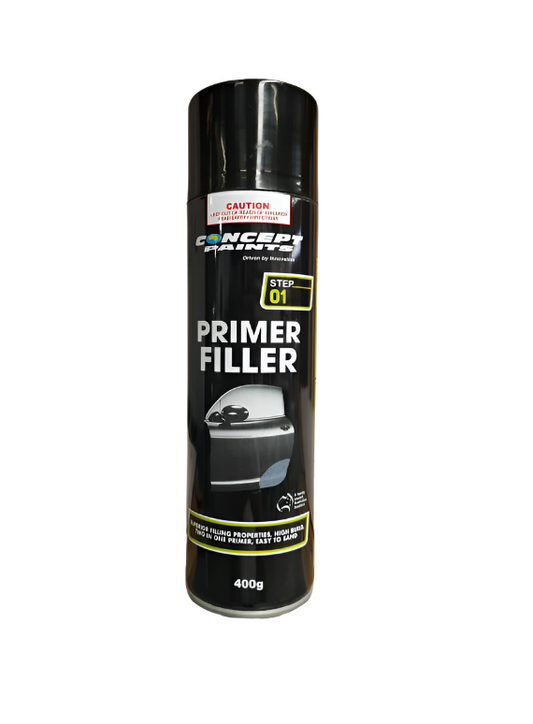
If required, apply a compatible 1K or 2K primer. Once dry/cured, sand to the finish specified for your chosen colour system. Clean thoroughly.

5. APPLY COLOUR
Apply your basecoat, 1K acrylic or compatible 2K direct-gloss colour in controlled, even coats. Allow the correct flash time between coats.

6. CLEAR
If using basecoat, apply a compatible 1K or 2K clear coat once the basecoat has flashed correctly.

7. CURE
Allow the coating to properly dry/cure before handling or reinstalling the part.

QUICK PROCESS:
CLEAN → PREP → ADHESION PROMOTER → PRIME → SAND → CLEAN → COLOUR → CLEAR → CURE


PREVIOUSLY PAINTED PLASTIC

1. INSPECT & CLEAN
Check for peeling, cracking, damage or poor previous repairs. Thoroughly remove dirt, wax, grease, polish and silicone before sanding.

2. REPAIR
Repair scratches, cracks or gouges with a suitable plastic repair product. Sand smooth and feather the surrounding paint.

3. SAND
Sand the entire area being painted until the surface is uniformly prepared with no remaining glossy areas.

4. TREAT BARE PLASTIC
If you've sanded through to bare plastic, apply plastic adhesion promoter to those areas where required.

5. PRIME
Prime repaired areas and sand smooth once cured. Remove sanding dust and clean thoroughly.

6. COLOUR & CLEAR
Apply the selected colour system in controlled coats. Apply compatible clear coat where required.

7. CURE
Allow the coating to fully dry/cure before handling, polishing or reinstalling the component.

QUICK PROCESS:
CLEAN → REPAIR → SAND → TREAT BARE PLASTIC → PRIME → SAND → CLEAN → COLOUR → CLEAR → CURE


USING AEROSOL CANS

✓ Shake the aerosol thoroughly before use.
✓ Test spray before painting the part.
✓ Keep the can a consistent distance from the surface.
✓ Keep the can parallel to the panel.
✓ Start moving before pressing the nozzle.
✓ Use approximately 50% overlap unless otherwise specified.
✓ Apply several controlled coats rather than one heavy coat.
✓ Allow the recommended flash time between coats.
✓ Allow basecoat to flash correctly before applying clear.
✓ After use, follow the aerosol manufacturer's nozzle-clearing instructions.

1K OR 2K?

1K: Convenient for DIY repairs, small jobs and aerosol applications. No separate hardener is required.

2K: Uses an activator/hardener and can provide excellent durability and chemical resistance. Once a 2K aerosol is activated, it has a limited usable pot life.

IMPORTANT

Always check the TDS and SDS for the exact products being used. Product-specific preparation, flash times, recoat windows and curing requirements take priority over general instructions.

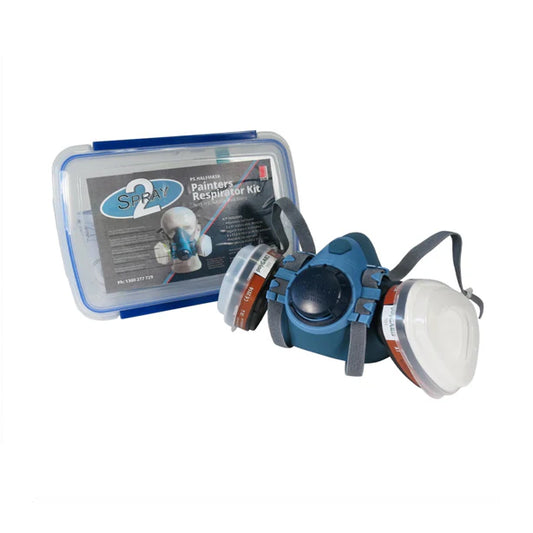
2K SAFETY: Some 2K coatings contain isocyanates and require specific respiratory protection, ventilation and handling controls. A standard dust mask is not suitable.