
How to Prepare Your Panel for Painting: Simple Steps
How to Prepare Your Panel for Painting: Simple Steps
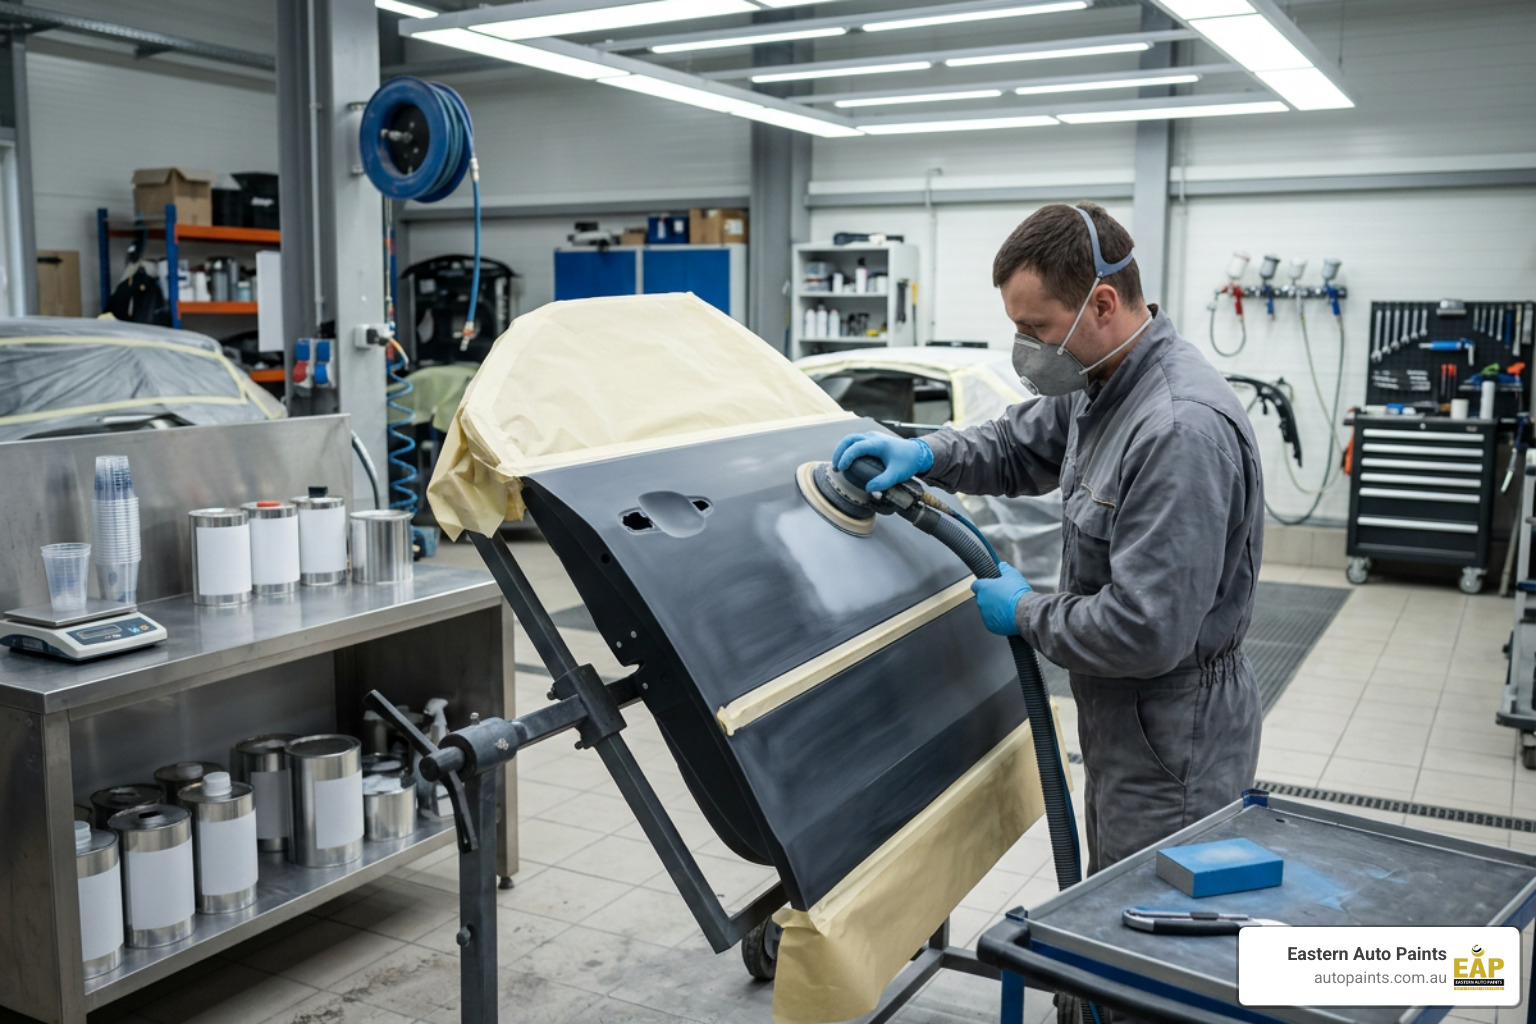
Learning how to prepare your panel for painting starts with the work that happens before colour or clear coat reaches the surface. When the substrate is cleaned, sanded, repaired, and primed with care, the finished panel is far more likely to look smooth, remain stable, and support durable adhesion.
Key Takeaways:
- Thorough degreasing before sanding prevents contaminants from being ground into open sanding scratches.
- Matching the right primer system (epoxy, self-etching, or 2K high-build surfacer) to your substrate is critical for corrosion resistance and adhesion.
- Levelling body filler with cross-hatch block sanding and guide coat application helps create seamless panel contours.
- Explore our range of professional 2K acrylic primers for optimal surface preparation.
At Eastern Auto Paints, we know that immaculate paintwork depends on what lies underneath. We supply trade painters, commercial body shops, and serious automotive restorers across Australia with premium refinishing products and expert technical advice.
By relying on our advanced colour-matching technology and trade-tested preparation methods, you can tackle any panel repair with complete confidence and achieve professional-grade results every time.
How Do You Clean and Degrease an Automotive Panel Before Sanding?
Thorough surface decontamination is the foundation of automotive panel preparation. Before taking any sandpaper or mechanical abrasive to a vehicle panel, you must completely remove road grime, grease, oil, traffic film, wax, tree sap, and silicone residues.
Skipping or rushing initial degreasing is one of the most common mistakes in bodywork. If you apply a dual-action (DA) sander directly to an unwashed panel, the friction can grind microscopic grease and silicone particles into the bare metal pores or sanding scratch profile. Once contaminants are trapped inside open sanding scratches, removing them with solvent wipers becomes extremely difficult. This can contribute to topcoat defects, including fish-eyes, cratering, pinholing, and localised loss of adhesion.
Selecting the Right Surface Cleaner
Effective panel decontamination requires targeted chemical cleaners matched to the type of contaminant:
- Solvent-Based Wax and Grease Removers: Formulated to dissolve heavy petroleum-based oils, road tar, silicones, and wax coatings. They evaporate quickly, leaving no oily film behind.
- Water-Borne Pre-Cleaners: Formulated to remove salts, dust, perspiration, and water-soluble road film that solvent cleaners alone cannot break down.
Using both types sequentially helps create a neutral substrate, particularly when prepping bare steel, aluminium alloys, fibreglass composites, or sound original equipment manufacturer (OEM) clear coats.
The Trade-Standard Dual-Cloth Procedure
To prevent smearing dissolved oils across the panel, use the two-cloth wipe-on, wipe-off method:
- Soak a clean, lint-free wipe or microfibre cloth with solvent degreaser and apply it generously to a manageable section.
- Allow the solvent a short dwell period so it can dissolve surface wax and grease.
- Immediately follow with a second dry, clean microfibre cloth to lift and wipe away the dissolved contaminants before the solvent evaporates.
- Wipe in a single uniform direction rather than circular motions, and fold cloths frequently to expose fresh, clean surfaces.
When handling chemical solvents, appropriate safety precautions are essential. Always refer to the manufacturer's product label, safety data sheet (SDS), and relevant Safe Work Australia hazardous chemicals guidance to select suitable personal protective equipment (PPE), respirator requirements, and ventilation controls.
How Do You Sand and Feather-Edge the Panel Substrate?
Once the panel is clean, mechanical sanding provides the surface texture required for primer and topcoat mechanical keying. The prep approach depends on the underlying substrate, whether you are working with raw sheet steel, OEM electrocoat, aluminium, fibreglass bodywork, or sound existing clear coat.
When working over existing finishes, evaluate whether scuff sanding is adequate or if complete surface stripping is necessary. If the old paint exhibits deep micro-checking, severe oxidation, or flaking, consult our guide A Q&A for Car Paint Removal to determine the proper stripping protocol.
Grit Progression and Feather-Edging Technique
Feather-edging creates a smooth, continuous slope from the bare metal or damaged core up through each layer of original primer, basecoat, and clear coat:
- Coarse Levelling: Begin by cutting back cracked or compromised paint edge boundaries down to solid substrate or bare metal using an abrasive grade suited to the repair stage.
- Feather-Edging: Step up through finer abrasives on a dual-action sander or sanding block to taper hard paint steps into soft, gradual slopes across a wide margin around the repair zone.
- Final Refinement: Refine coarse scratch marks across the substrate and feathered edges with the abrasive grade recommended for the primer system, so the surface has a uniform mechanical key without deep sanding scratches.
How Do You Repair Surface Imperfections with Automotive Body Filler?
Minor dents, low spots, weld seams, and panel repairs require polyester body filler to rebuild smooth panel contours before priming. Achieving a repair that remains stable over time depends on proper mixing technique, thin layer application, and structured block sanding.
Mixing and Applying Polyester Filler
Polyester body filler relies on a chemical reaction triggered by a benzoyl peroxide hardener. For detailed application steps, explore our guide on How to Bodyfiller Like a Pro.
- Correct Proportioning: Mix hardener thoroughly into the body filler paste according to the manufacturer's technical data sheet (TDS). Under-catalysing can leave filler soft and difficult to sand, while over-catalysing can cause staining that may bleed through topcoats.
- Mixing Technique: Mix on a clean, non-porous mixing board using a flexible spreader. Fold the material smoothly rather than stirring rapidly to avoid trapping air bubbles that turn into pinholes later.
- Tight Application: Apply the initial pass with firm pressure using a spreader angled to suit the panel shape. This forces filler into the sanding scratch profile and helps drive out air pockets. Build subsequent layers in thin passes, keeping total thickness within manufacturer guidelines.
Block Sanding and Pinhole Sealing
Levelling body filler requires a systematic block sanding routine. For a complete deep dive into sanding methods, follow structured sanding guidelines.
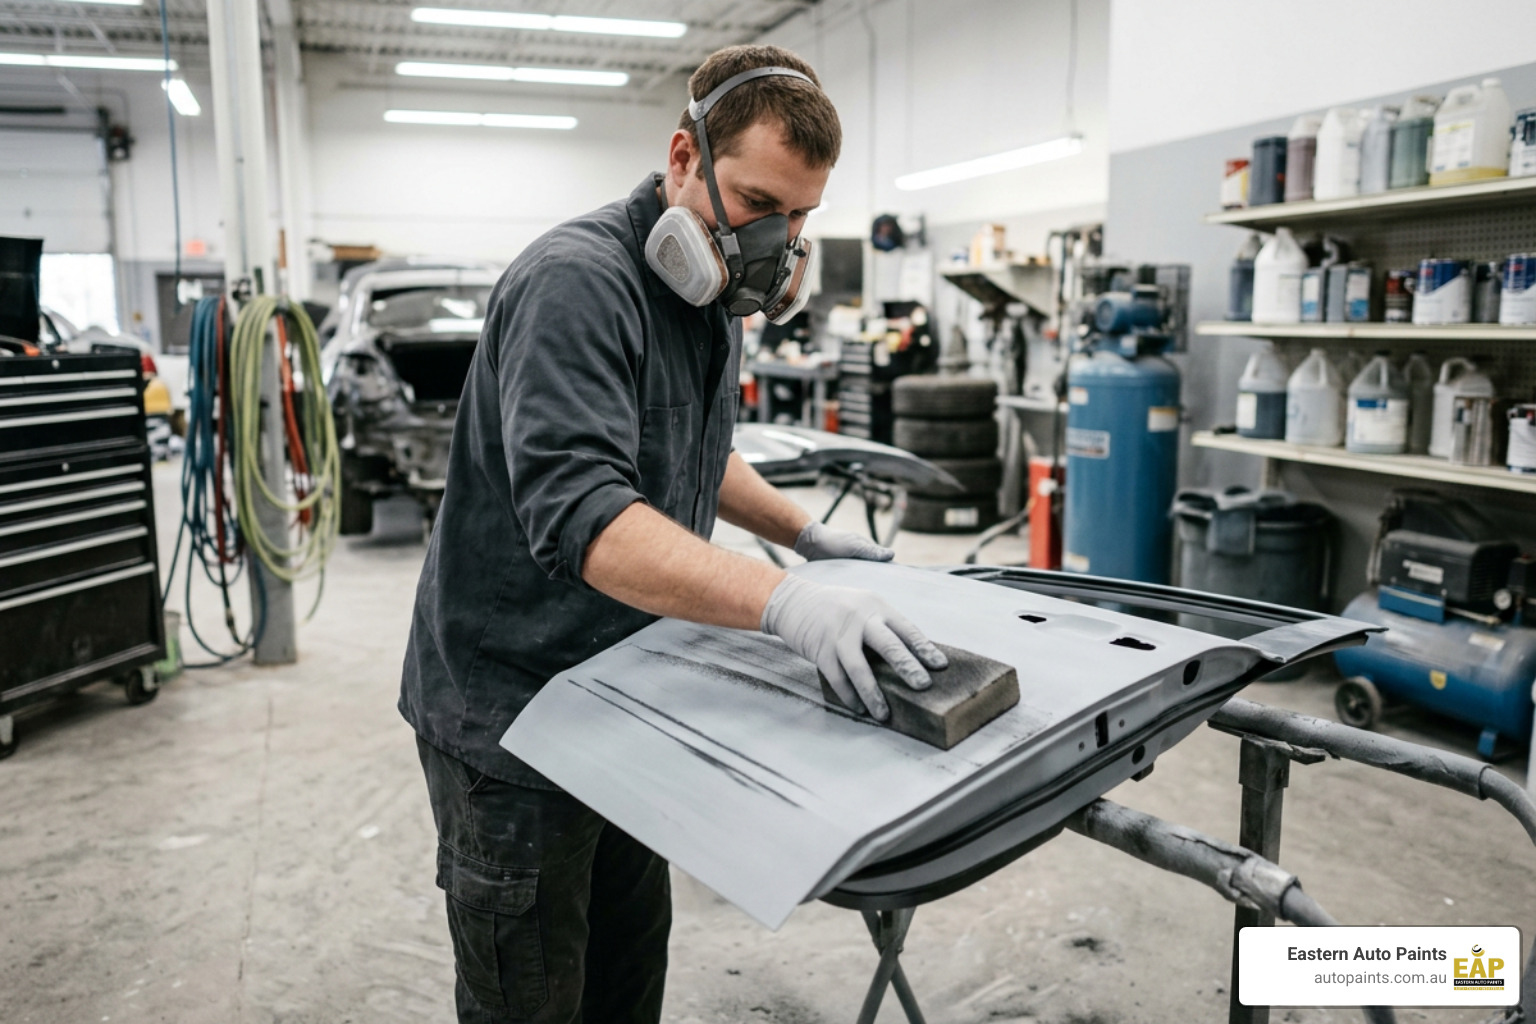
Always use a rigid hand sanding block sized appropriately for the repair. Sand in a cross-hatch pattern with alternating diagonal passes to ensure you sand across the crown of the panel rather than digging grooves into soft filler.
Before priming, inspect the sanded filler for micro-pinholes or fine scratch lines. Apply an ultra-light polyester finishing glaze or spot putty over the repair area where needed and block sand to create a seamless transition. Explore our full range of trade-grade automotive body fillers and glazes for options tailored to structural filling and fine surface finishing.
Which Automotive Primer Should You Apply to the Prepared Panel?
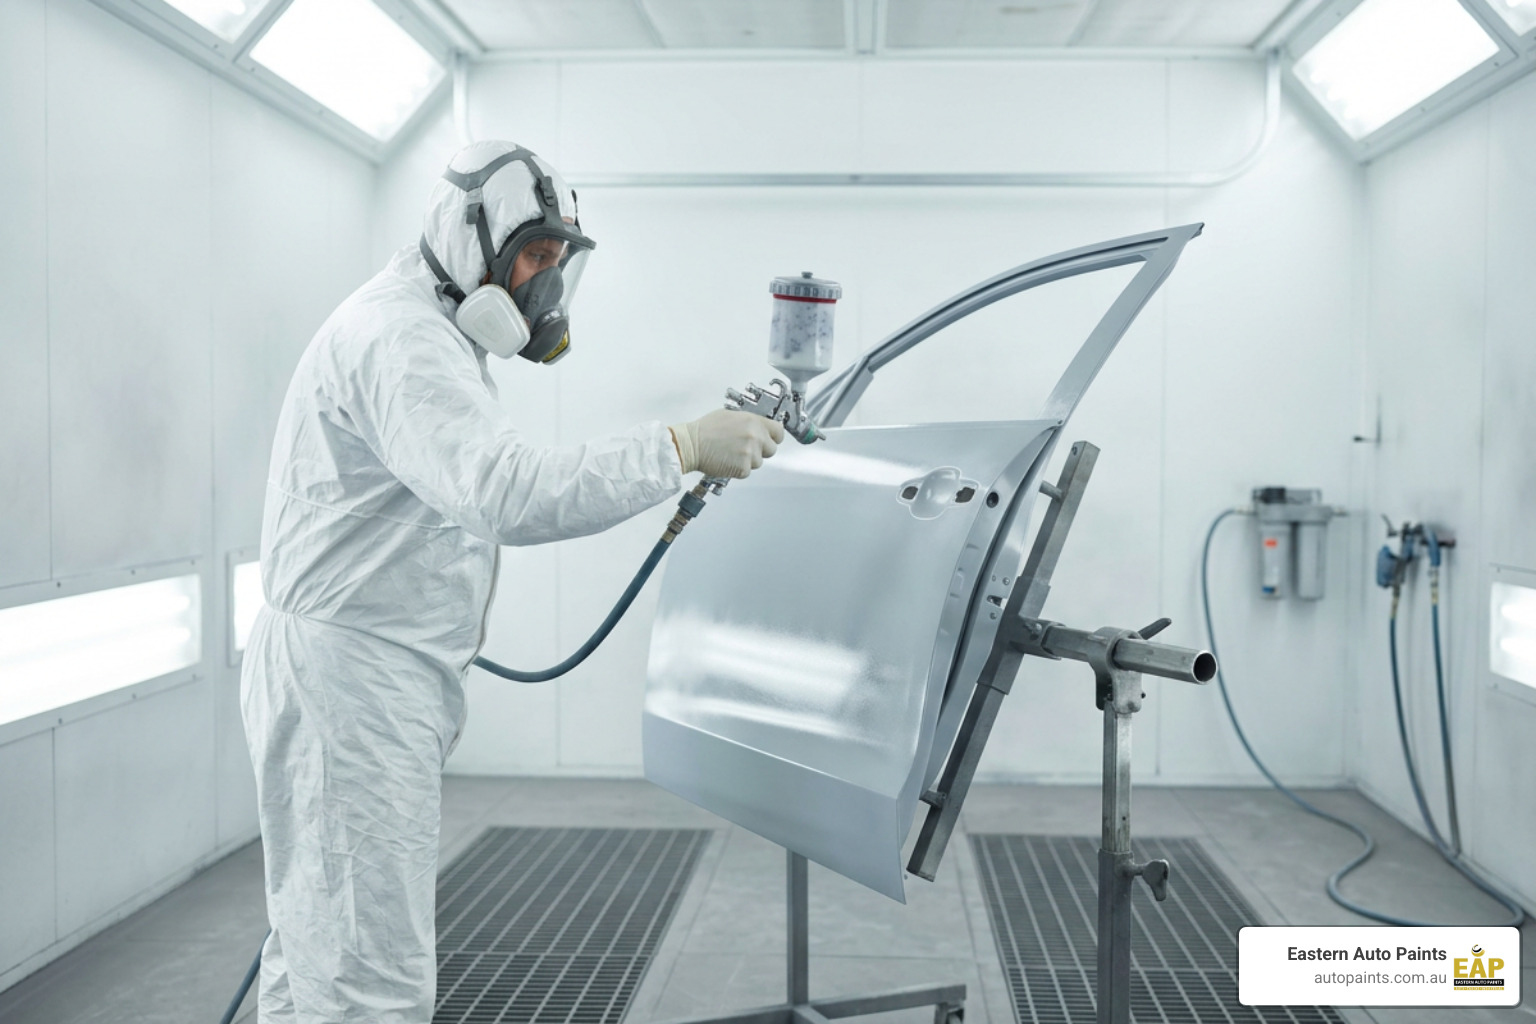
Selecting the right primer system ensures long-term adhesion and corrosion protection. Depending on the substrate and repair scope, trade painters utilise three primary primer categories. Application and drying times vary by product; always refer to the manufacturer's TDS or product label before starting. For an in-depth breakdown, consult A Practical Guide to Choosing Auto Paint Primers.
Product Characteristics and Application Scenarios
Direct-to-Metal Epoxy Primer
When you need maximum corrosion resistance and moisture barrier protection over bare sheet steel, aluminium, or restored vintage panels, epoxy primer is ideal. It forms a dense, chemical-resistant film that seals bare metal from moisture creep and air exposure.
Self-Etching Primer
When you require fast chemical etching and adhesion on small bare metal rub-through spots or fast-turnaround spot repairs, self-etching primer offers a quick solution. Formulated with acid resins, it etches into bare metal to establish a strong mechanical bond.
Two-Pack (2K) High-Build Acrylic Primer Surfacer
When you need to fill sanding scratches, level body filler transitions, and establish a uniform, smooth foundation before colour spraying, a 2K acrylic primer surfacer is the standard choice. It provides high film build, strong holdout, and easy block sanding properties. Explore options in our 2K acrylic primers collection.
Decision Guide: Matching Primer to Job Requirements
- Bare Metal Restoration / Exposed Substrate: Apply epoxy primer directly to clean, sanded bare metal to support moisture sealing and corrosion protection.
- Minor Rub-Through Spots to Metal: Apply a suitable self-etching primer over exposed steel or aluminium before applying high-build surfacer, where the product system recommends it.
- Surfacing and Sand Scratch Filling: Apply high-build acrylic primer surfacer over epoxy, etched metal, or sanded body filler according to manufacturer TDS specifications to create a flat, sandable base.
Always check individual manufacturer TDS documents for specific flash-off times, mixing ratios, hardener selections, coat counts, and film thickness limits before spraying.
Why This Issue Should Not Be Ignored
Taking shortcuts during automotive panel preparation almost guarantees coating failure. The physical and chemical bonds of basecoats and clear coats rely entirely on the integrity of the substrate beneath them.
Improper prep leads to severe, costly refinishing defects:
- Adhesion Loss and Peeling: Residual grease or unsanded glossy spots prevent paint from anchoring, causing clear coats to peel off in sheets under weather exposure or high-pressure washing.
- Subterranean Rust Creep: Moisture or salt trapped under primer on bare steel causes blistering, bubbling, and pitting that destroys panel integrity from within. Utilising dedicated rust prevention and repair products on raw metal before priming prevents subterranean corrosion from developing.
- Sand Scratch Mapping and Die-Back: Spraying topcoats over coarse sand scratches or improperly flashed primer causes solvents to sink into open scratches, resulting in loss of gloss, dull patches, and telegraphing scratch lines.
- Costly Rework: Stripping a failed topcoat, cleaning off ruined primer, and starting from scratch requires significantly more time and materials than doing the job right initially.
Invest time in thorough surface cleaning, correct grit progressions, and proper primer curing to protect your finish. Learn more about achieving lasting results in our article on Automotive Paint Finish.
Common Symptoms, Challenges, or Questions
During panel preparation, spray technicians frequently face technical challenges that require specific adjustments:
Managing Solvent Absorption and Edge Mapping
When high-build primer surfacer is applied over feathered paint edges, the thin repair perimeter can absorb primer solvents, causing the old paint edge to swell. Once cured, this leaves an outline or "ghost ring" around the repair. Prevent edge mapping by allowing adequate flash-off time between light primer coats and ensuring edge transitions are completely feathered with fine abrasives.
Eliminating Solvent Popping and Die-Back
Solvent popping occurs when top layers of primer or clear coat skin over before trapped solvents underneath can evaporate. When those solvents force their way out later, they leave tiny pinholes across the film. Avoid heavy coat build-up, maintain proper booth airflow, and follow flash-off directions on product labels. Read more on spray execution in Auto Paint Application.
Preparing Plastic Bumpers and Composite Trim
Flexible raw plastic panels, including polypropylene and acrylonitrile butadiene styrene (ABS), require dedicated prep. Clean plastic parts thoroughly with specialised plastic degreasers, scuff the surface using fine scuff pads and matting paste, and apply a dedicated plastic adhesion promoter before spraying primers or topcoats.
Using Guide Coats for Precision Flatness
After spraying 2K primer surfacer, apply a contrasting dry powder or aerosol guide coat over the panel. As you block sand with a rigid sanding board and the recommended abrasive sequence, the guide coat remains in low spots, micro-pinholes, and deep scratches, highlighting exactly where further block sanding or spot putty is required.
What a Personalised Experience Actually Looks Like
At Eastern Auto Paints, we recognise that no two panel prep jobs are identical. Prepping a high-strength steel door shell on a modern daily driver requires a different approach than restoring custom fibreglass bodywork or vintage aluminium panelling.
We tailor technical advice directly to your project needs:
- Substrate-Specific Systems: We match primers, etch coatings, and body fillers to mild steel, aluminium, carbon fibre, or original factory paint coatings.
- Environmental Adaptations: Australian shop conditions vary greatly by season. We help you choose hardeners, reducers, and thinners suited to ambient shop temperatures and humidity levels.
- Exact Colour Formulation: Utilising computerised spectrum colour matching, we analyse target panels to mix precise factory original equipment manufacturer (OEM) colours, custom metallics, and multi-stage pearls.
- Equipment Selection: We guide shop setups on selecting suitable spray guns, fluid tip sizes, inlet regulators, and compressed air systems matched to your shop's air delivery and air drying capabilities.
The Value of Consistency and an Ongoing Relationship
Achieving predictable, trade-quality results across every project requires reliable products and consistent technical guidance. Body shops and serious restorers benefit from establishing an ongoing relationship with a dedicated coating supplier.
Working with an expert supplier provides:
- Complete TDS and SDS Documentation: Direct access to manufacturer technical specifications ensures correct mixing ratios, pot life management, and spray parameters.
- Batch-to-Batch Stability: Consistent tinting, binder formulation, and grain size guarantee precise colour matching across multi-panel repairs and fleet work.
- Reliable Supply Lines: Steady availability of premium trade abrasives, masking supplies, body fillers, and 2K primers keeps workshop schedules on track.
- Ongoing Support: Experienced coating specialists are available to troubleshoot prep issues, inspect challenging substrates, and refine spray techniques.
What to Expect at Eastern Auto Paints
Eastern Auto Paints serves as a trusted partner for commercial body shops, trade panel beaters, custom automotive painters, and dedicated vehicle restorers across Victoria and Australia. Located in Bayswater and Dandenong South, our facilities combine extensive inventory with deep industry expertise.
When you work with us, you can expect:
- Comprehensive Product Inventory: Full stock of premium 2K acrylic primers, direct-to-metal epoxy coatings, lightweight body fillers, ultra-clear polyurethanes, and trade consumables.
- Advanced Spectrum Colour Matching: Computerised spectrophotometer technology using advanced spectrum colour matching to scan paint samples and formulate precise custom paint mixes.
- Expert Technical Advice: Direct consultation with experienced coating specialists who bring practical, hands-on panel prep and spray booth knowledge.
Learn more about our heritage and commitment to the refinishing industry on our About Eastern Auto Paints page.
When to Get in Touch or Take Action
Whether you are preparing a panel for a minor spot repair, undertaking a complete vehicle respray, or setting up a new commercial spray booth, starting with the right prep advice saves time and material costs.
Reach out to our specialist team when you need:
- Expert recommendations on primer selection for unusual substrates
- Computerised spectrum colour matching for factory or custom paint finishes
- Guidance on spray gun setup, nozzle sizing, or air filtration upgrades
- Bulk orders of trade abrasives, body fillers, and refinish supplies
Get in touch directly via our Contact Us page or visit our Melbourne trade counters to discuss your refinishing requirements.
Achieving Superior Results on Every Panel Repair
Taking the time to execute thorough surface cleaning, correct feather-edging, precise block sanding, and appropriate primer selection ensures your topcoat remains durable, vibrant, and free from common refinishing defects. A well-prepared substrate guarantees maximum adhesion and long-term corrosion resistance for any automotive refinishing project.
Whether you require advanced spectrum colour matching, 2K primers, or technical advice for panel preparation, our team is ready to support your refinishing workflow. If you have questions about substrate prep or coating selection, feel free to get in touch through our Contact Us page.
Frequently Asked Questions About Automotive Panel Preparation
What Is the Most Critical Step in Preparing an Automotive Panel for Painting?
Thorough surface cleaning and solvent degreasing with a dedicated wax and grease remover before performing any mechanical sanding is the single most critical step in automotive panel preparation. Cleaning prior to sanding prevents oil, grease, silicone, polish, and road film from being forced deep into metal pores or sanding scratch profiles. Eliminating surface contaminants early supports mechanical bonding for body fillers, primers, and topcoats, while helping prevent common refinishing defects such as fish-eyes, blistering, and edge peeling.
How Many Coats of Primer Surfacer Should Be Applied to a Prepared Panel?
The required coat approach for primer surfacer depends on the substrate condition, repair depth, and specific product formulation; always refer to the manufacturer's technical data sheet (TDS) for exact film build and coat recommendations. Spray technicians must allow full flash-off times between coats as specified in the product TDS to allow solvents to evaporate cleanly. Following complete curing, applying a dry powder guide coat and hand block sanding with the appropriate fine abrasives will level out minor surface undulations, micro-pinholes, and sand scratch marks to ensure a flat, smooth foundation prior to basecoat spraying.
Do You Need to Sand Existing Clear Coat Before Applying Primer or Topcoat?
Yes, scuff sanding or blocking existing clear coat is mandatory to create a mechanical key for subsequent primer or topcoat adhesion. Paint will not adhere reliably to a glossy, smooth clear coat surface. Using fine scuff pads, matting pastes, or dry sanding discs breaks the gloss surface and provides micro-scratches for fresh paint coatings to anchor onto. Failing to sand existing glossy clear coats can result in paint flaking, clear coat delamination, and topcoat peeling over time.
Do You Need to Seal Raw Steel or Aluminium Panels Before Painting?
Yes, bare steel and aluminium panels must be sealed with a dedicated anti-corrosive primer before applying body fillers or topcoats. Unsealed bare metal exposed to atmospheric oxygen and ambient humidity can develop micro-oxidation and rust creep beneath paint layers. Applying direct-to-metal epoxy primer or self-etching primer seals the bare substrate, providing corrosion resistance and a secure foundation for subsequent high-build primers and topcoats.
How Do You Prepare a Panel That Has a Glossy or Varnished Finish?
Preparing a panel with a glossy, cured clear coat or baked enamel finish requires thorough degreasing followed by uniform scuff sanding. Clean the panel with wax and grease remover to lift surface oils and silicone polishes. Once dry, scuff sand the entire surface using an appropriate fine scuff pad with matting paste or a sanding disc grade suited to the coating system until all shine is removed and an even matte finish is achieved. Vacuum away dust, wipe down again with solvent pre-cleaner, and apply primer surfacer or ground coat according to the product TDS.