
Master the Car Clear Coat Touch Up on Small Paint Chips
Car Clear Coat Touch Up Starts With the Right Damage Check
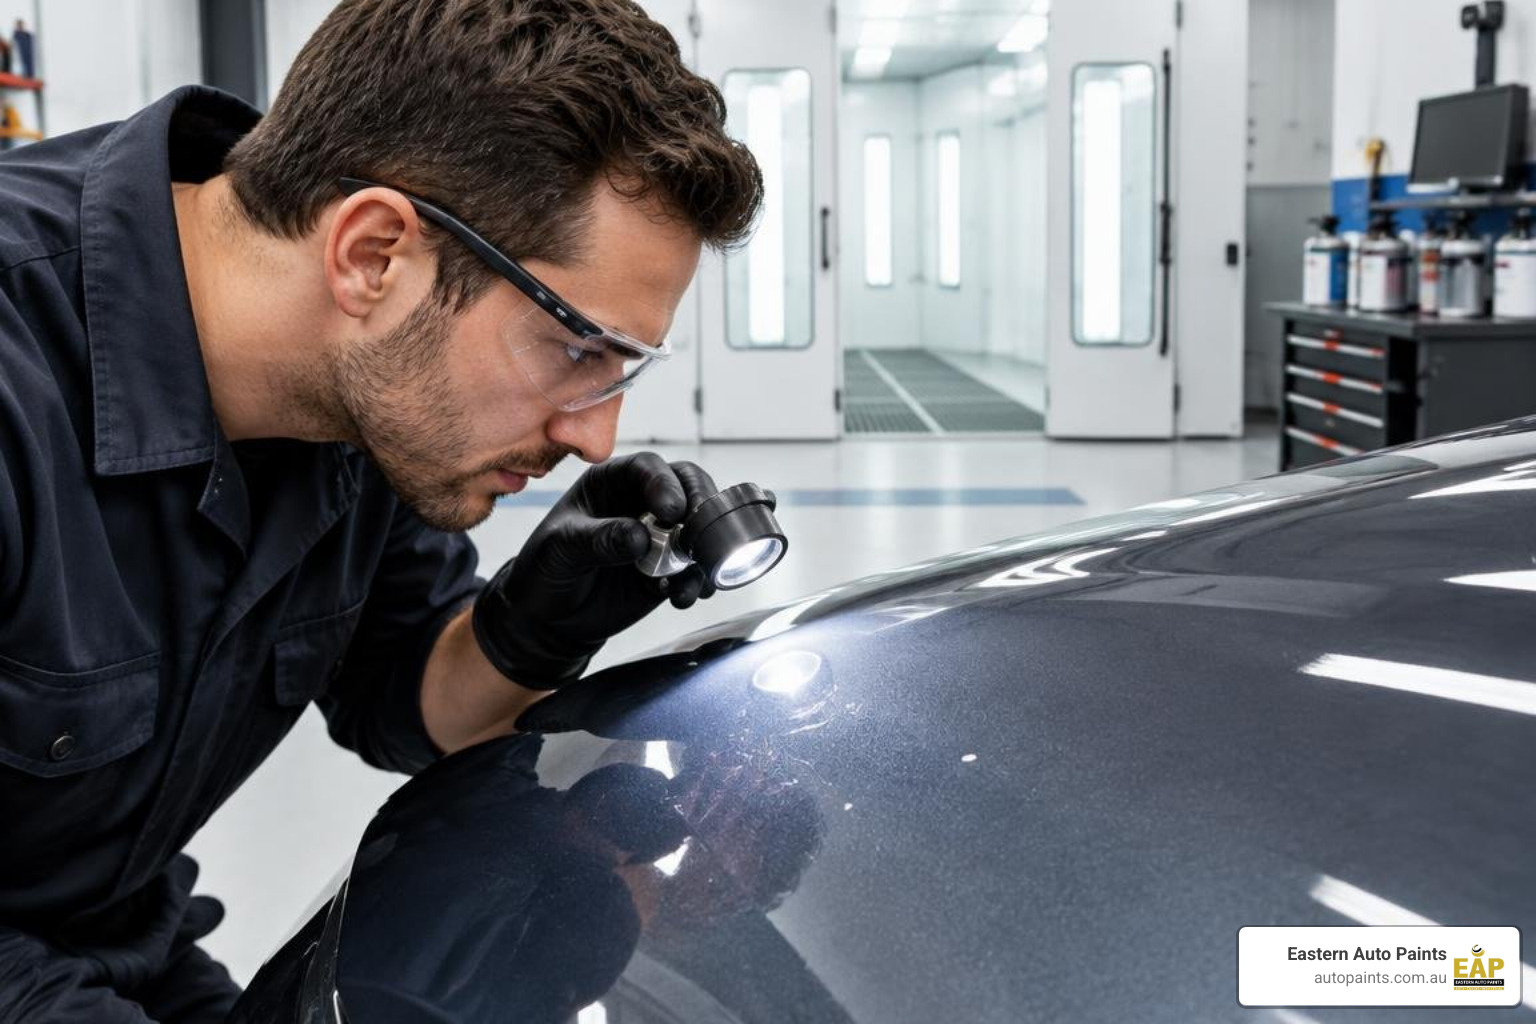
A rushed car clear coat touch up can leave a visible ring, a soft edge that keeps catching dirt, or a repair that fails within weeks. At Eastern Auto Paints, we help you slow the process down and match the repair to the actual damage. We recommend checking the depth of a chip before applying clear coat. If the colour coat is intact, clean the area, lightly feather the damaged edge, remove dust and apply a compatible clear coat in thin layers, following the manufacturer's flash and curing instructions. If colour or bare metal is exposed, repair those layers first. Spraying clear coat alone will not replace missing paint or stop rust.
Key Takeaways
- Match the repair to the damage depth: clear-only chips need a different process than chips that expose basecoat, primer, or bare metal.
- Use the right clear coat system for the job, whether a single-component acrylic or a two-pack (2K) urethane aerosol.
- Prepare the blend zone carefully so the new clear coat feathers into the surrounding finish without a hard edge.
- Choose compatible scratch and chip touch-up products and follow the manufacturer's technical data sheet for application and curing.
- Protect the repaired area with proper curing and polishing before returning the vehicle to daily use.
Clear coat gives a vehicle its gloss and helps protect the colour beneath it from sunlight, moisture and everyday contamination. For a small repair, careful preparation and a soft blend into the surrounding finish matter as much as the clear coat itself. We help spray painters, panel beaters and serious restorers choose compatible scratch and chip touch-up products and plan a repair that suits the damage.
Our goal is to make the repair process clearer, not more complicated. With the right preparation, compatible coatings and a patient approach, a small clear coat chip can be restored without turning into a full panel respray.
Understanding Clear Coat Damage and Australian Climate Risks
Australia features some of the harshest environmental conditions in the world for automotive finishes. Intense ultraviolet (UV) radiation constantly attacks the resin matrix of exterior coatings. Over time, uninterrupted sun exposure weakens chemical bonds, leading to oxidation, micro-cracking, and eventual clear coat delamination. Environmental contaminants such as acidic bird droppings, bat guano, and corrosive tree sap accelerate this breakdown when left on warm panels.
Physical impacts from road debris and loose gravel create focal points where damage spreads. When a stone strikes a vehicle panel, it can chip away the protective topcoat. This breach allows moisture and road contaminants to enter the underlying layers. If moisture reaches bare metal, oxidation begins beneath the surface, lifting the surrounding paint and turning a minor spot into a larger refinishing project. You can explore further methods to manage widespread damage in our guide on car clear coat repair.
| Damage Category | Visual Indicators | Layer Affected | Repair Approach |
|---|---|---|---|
| Light Clear Scratch | White or cloudy line; vanishes when wet | Clear coat upper zone | Fine polishing or spot clear application |
| Deep Clear Fracture | Visible ridge; clear coat flaking around edge | Clear coat full depth | Feather sanding and localized clear coat application |
| Basecoat Strike | Underlying colour altered or missing | Basecoat and clear coat | Basecoat colour touch up followed by clear coat |
| Substrate Breach | Primer or bare metal visible; possible surface rust | All coating layers | Rust repair and prevention, primer, basecoat, and clear coat |
Assessing Damage Before Your Car Clear Coat Touch Up
Before picking up sandpaper or an aerosol, you need to assess how deep the fracture goes. A quick diagnostic method is the wet test: apply a small amount of clean water or wax and grease remover over the dry chip. If the chip temporarily disappears or darkens back to the natural paint colour, the fracture sits entirely within the clear coat. If the colour difference remains obvious while wet, the stone has penetrated through to the colour basecoat or primer.
You can also run a clean fingernail gently across the defect. If your nail catches on an edge but you still see solid colour underneath, you are dealing with localised topcoat loss. If you feel bare metal or grey undercoat, you must rebuild the paint structure from the foundation before applying clear coat. Knowing the chemistry of your vehicle finish also helps, which you can learn about in our article on how to identify types of clearcoat.
Step-by-Step Guide to a Flawless Car Clear Coat Touch Up
Executing a lasting spot repair requires methodical surface preparation, controlled spray technique, and a seamless blend into the surrounding original finish. Rushing the initial cleaning or applying heavy wet coats too quickly can cause solvent entrapment, edge mapping, or loss of adhesion.
Surface Preparation and Masking
Contaminants are the primary cause of poor coating adhesion. Begin by washing the panel with automotive wash soap and clean water to remove dirt, followed by a dedicated wax and grease remover applied with a clean microfibre cloth. Wipe the solvent off before it evaporates to lift silicone, road grime, and wax residues away from the surface.
Once degreased, level the hard perimeter of the paint chip. Using ultra-fine abrasive sanding sheets backed by a firm velocity sanding block, gently wet sand the fractured perimeter. Wet sanding smooths the sharp transition between damaged clear coat and sound basecoat. Sand outward into the blend zone, keeping the scuff area small and controlled.
When masking the panel, avoid applying hard tape edges immediately adjacent to the repair zone. Hard tape lines create pronounced ridges of fresh clear coat that require aggressive sanding to level. Instead, use soft-edge masking foam or back-masking techniques where the tape is folded back on itself to create a gentle, tapered overspray zone. Finish your preparation by passing a clean tack rag across the panel to collect dust particles.
Applying Aerosol Layers for a Car Clear Coat Touch Up
When selecting an aerosol clear coat for spot repairs, panel beaters and vehicle restorers generally choose between two distinct product technologies:
1K Acrylic Clear Aerosols
Single-component (1K) formulations, such as acrylic topcoat clear 400g cans, dry through solvent evaporation. They are ready to spray straight from the shelf with no activation required, making them convenient for minor cosmetic touch ups and light-duty applications.
2K Urethane Clear Aerosols
Two-component (2K) formulations, including 2K clear coat aerosols, feature an internal chamber containing an isocyanate activator. Once the activator button on the base of the can is punctured, the hardener mixes with the resin, initiating chemical cross-linking. This reaction produces a tough, UV-resistant film with chemical and scratch resistance matching original factory coatings.
Decision Guide: Which Aerosol Suits Your Repair?
- Small, Low-Impact Cosmetic Spot Repairs: 1K acrylic clear is suitable for interior trims, minor non-structural components, or quick cosmetic jobs where ease of use is the priority.
- Exterior Body Panels, Front Bumpers, and Daily Drivers: 2K urethane clear is ideal for exterior areas subject to stone impacts, fuel splashes, industrial fallout, and direct sunlight.
When applying your chosen clear coat, maintain an even distance of approximately 15–25 cm (6–10 in) from the target surface. Apply light, controlled coats with smooth, overlapping passes. Allow each pass to flash off before applying the next coat. Application parameters, coat counts, flash-off intervals, and curing schedules vary between formulations; always check the manufacturer's technical data sheet (TDS) or product label for exact recommendations. For additional advice on application control, refer to our article on applying automotive clear coat.
Blending and Curing the Repaired Clear Coat
To avoid a visible line where the fresh clear coat meets the existing cured finish, use a dedicated blending solvent or fade-out spray around the perimeter of your wet repair. A light mist of blending thinner dissolves the overspray edge into the scuffed original clear coat, creating a flat transition.
Allow the repaired coating to fully cure before undertaking any mechanical finishing. Curing can be accelerated in workshop environments using professional infrared heat lamps and panel stands. Once the clear coat has achieved complete chemical cure, lightly nib the blend zone using fine wet-and-dry abrasives, then restore gloss across the panel with a quality cutting compound and rotary or dual-action machine polisher.
Premium Products and Superior Matching with Eastern Auto Paints
Achieving professional spot repairs relies on component compatibility across your entire paint system. Applying clear coat over an incompatible basecoat or using mismatched thinners can cause lifting, wrinkling, or premature fading.
At Eastern Auto Paints, we support trade workshops and serious vehicle restorers with complete refinishing systems. From specialized basecoats to our comprehensive automotive touch up supplies, our products are engineered to work together reliably. Detailed technical information on high-build clear coats is available in our 2K clear coat ultimate guide.
Long-Term Protection and Preserving Vehicle Value
Clear coat acts as the primary barrier protecting your vehicle's colour coat and metal bodywork from environmental degradation. Modern automotive clear coats contain UV absorbers and light stabilisers that shield pigments from solar fading and oxidation.
Promptly repairing clear coat chips prevents minor chips from turning into wide delamination rings. Using premium finishes from our range of clearcoat products maintains uniform surface protection, preserves original gloss, and protects your vehicle's resale value.
What to Expect at Eastern Auto Paints
When you source your automotive paint and refinishing equipment through Eastern Auto Paints, you work with an experienced team backed by partnerships with leading paint manufacturers. As a PPG Select Distributor, certified Jotun Australia distributor, and Concept Paints master wholesale distributor for South East Victoria, we maintain trade stock and technical support for every project.
We assist panel shops, commercial spray booths, and dedicated restorers with:
- Precision colour matching backed by computer spectrophotometer formulations and extensive tint libraries.
- Complete industrial and automotive clear coat systems, including 2K factory clear coat supplies.
- Full workshop equipment supply, from Anest Iwata air compressors to SATA spray guns and curing stations.
- Australia-wide delivery from our trade distribution branches in Bayswater and Dandenong South.
When to Get in Touch or Take Action
While small clear coat fractures and stone chips can be resolved with localised spot repairs, some coating failures require more extensive refinishing. If your vehicle shows broad, widespread clear coat peeling (where the clear coat lifts in sheets across an entire bonnet or roof panel), localised touch up will not restore film integrity. In these cases, the panel must be stripped and repainted from the primer layer up.
If rust has started forming beneath a chip, or if paint delamination extends across full panel curves, contact our technical team. You can reach out directly via our contact page for tailored advice on products, equipment, and preparation methods.
Practical Solutions and Reassurance for Trade and Restorers
Clear coat application produces reliable results when standard refinishing fundamentals are maintained. Managing your workspace environment helps prevent common defects like runs, solvent popping, and excessive orange peel. Always work in a well-ventilated, clean environment protected from wind-blown dust and temperature extremes.
Personal safety is equally critical during all spraying and sanding operations. Spraying 2K polyurethane clears releases isocyanate compounds that require appropriate respiratory protection. We supply professional safety equipment, including 2Spray painters respirator kits. Consult the specific product's label and technical data sheet, alongside SafeWork Australia or your relevant state WorkSafe authority guidelines, to determine the necessary personal protective equipment (PPE) and chemical handling protocols for your workshop setup.
Restoring Panel Protection with Professional Refinish Solutions
Maintaining a vehicle's exterior requires prompt attention to clear coat fractures before weather and road grime degrade underlying paint layers. With proper surface preparation, carefully feathered blend zones, and compatible coatings, small stone chips can be restored to a durable, high-gloss finish. Explore our technical refinishing resources, trade supplies, and complete systems to achieve dependable results on every panel:
- Learn more about achieving factory-grade results with our overview on automotive paint finish solutions.
- Speak with our Melbourne technical team for product advice by visiting Eastern Auto Paints contact us.
- Browse our complete selection of trade-grade primers, basecoats, and clears through our automotive paint supplies.
- Order matched touch up systems directly online from our custom spray cans service.
Frequently Asked Questions About Car Clear Coat Touch Up
Can you just spray clear coat over chipped paint?
Spraying clear coat over a chip is only effective if the underlying basecoat colour remains undamaged and firmly bonded to the panel. If a stone impact has chipped away the colour layer to reveal grey primer or bare steel, applying clear coat alone will seal in the defect without restoring the vehicle colour or preventing substrate rust. In those circumstances, the damaged area must be cleaned, primed if bare metal is showing, touched up with matched basecoat colour, and then sealed with clear coat.
What is the difference between 1K and 2K clear coat for spot repairs?
A 1K clear coat is a single-component acrylic product that cures purely through solvent evaporation as it dries in air. A 2K clear coat uses a separate chemical hardener containing isocyanates that creates cross-linked polymer chains during cure. While 1K clears offer convenience for light-duty touch ups, 2K clears provide higher film hardness, superior gloss retention, increased chemical resistance against petrol and car washes, and enhanced long-term UV resistance under harsh Australian conditions.
How long does a car clear coat touch up take to cure before polishing?
Curing times depend heavily on ambient temperature, humidity, whether 1K acrylic or 2K urethane clear was applied, and whether artificial heat or infrared drying lamps were used during the process. While many clears become dust-free within a short period, achieving full chemical hardness sufficient for wet sanding and machine compounding generally takes longer. Always refer to the specific coating manufacturer's technical data sheet for accurate bake schedules, air-dry timelines, and compounding windows.
How do you prevent visible blend lines when touching up clear coat?
Visible blend lines occur when fresh clear coat creates a distinct edge against cured paint. To prevent this, avoid hard masking tape lines close to the repair area and prepare a wider blend perimeter using fine wet-and-dry abrasives. After applying your clear coat, mist a dedicated blending thinner over the outer transition edge to melt the fresh clear into the pre-sanded original clear coat. Once the film is completely cured, compounding and machine polishing the blend zone removes remaining texture for a uniform finish.
When should a clear coat chip be repaired professionally instead of DIY?
A DIY touch up is well suited for small stone chips and minor surface fractures where the damage is confined to a localised spot. Professional bodyshop refinishing is recommended when clear coat is actively delaminating across broad surface areas, when rust has spread beneath surrounding paint, or when damage spans large panel sections requiring full-panel respraying in a dedicated spray booth. Professional equipment and controlled booth conditions ensure large-scale clear coat repairs achieve even film build and dust-free curing.